Farmhouse Monogram Cutting Board Sign
Create a farmhouse style monogram sign with a $5 IKEA cutting board... it makes a charming kitchen decoration or a great gift idea!
Ingredients
- IKEA Proppmatt Cutting Board
- Fine grit Sanding paper
- Paint brush
- Americana Gel Stain in Walnut
- Nail buffer block or sanding block
- Chalky Finish Paint Smitten
To cut your letter with a Cricut
- Cricut Maker
- Initial file in Cricut Design Space
- Strong Grip Cutting Mat
- Cricut Knife Blade
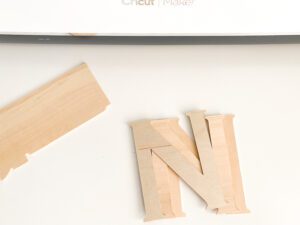
- Basswood
- Masking tape
- Multi-grip Adhesive
- Foam mounting squares
Instructions
- Lightly sand the cutting board with a fine grit sand paper. Wipe the board clean of dust and debris.
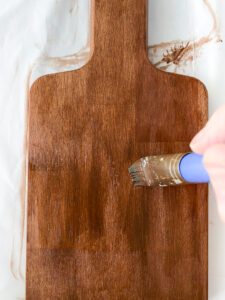
- Using a soft brush or a soft, lint-free cloth, apply stain and immediately wipe off with another soft, lint-free cloth. If you'd like a richer color, apply a second coat in this same method. Allow to fully dry.
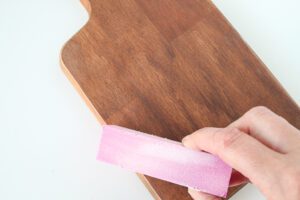
- Using a nail buffer block or sanding block, scuff up the edges and some random areas on the front of the cutting board (using the edge of the block).
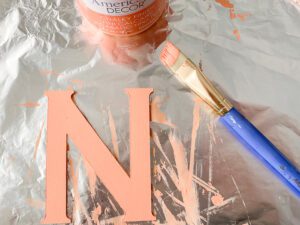
- Cut your letter with the Cricut Maker or use a precut initial (see the instructions below if you'll be cutting your own letter). Paint the letter that will go on top of the stack. Glue the letters together and allow to dry. Paint the edges of the stacked letter.
- Add greenery, bow or embellishments of your choice.

- Attach the initial to the cutting board using foam mounting squares or heavy mounting tape.

To cut your letter with a Cricut
- Open the monogram sign image in Design Space. Customize the letter and font to your liking. Click make it and select Basswood as the cutting material.
- Load your material on a strong grip cut mat and secure to the mat around the edges with masking tape. Load the knife blade and make sure that the star wheels are pushed all the way to the right. Cut.
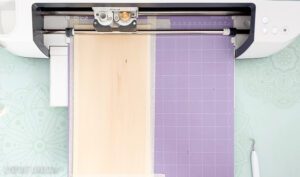
- It's a good idea to stick close by your machine while it cuts so that you can sweep off any wood chips or debris that pops up during cutting.
- Once the cut is done and before unloading the mat, gently push down on the wood around the design to make sure it's cut all the way through. If the wood doesn't seem to be cut all the way through, you can press the go button on the machine to cut another pass.
- After the mat is unloaded, gently push on the design to release it from the rest of the wood. Repeat for 2 more wood letters.